

Nano Aquascaping: Design a Small Tank with Depth & Balance
Introduction
Nano aquascaping is the design of a planted aquarium within a small footprint. The challenge is not simply to use smaller rocks and shorter plants. You need a readable arrangement, space for growth and enough access to care for the aquarium after it is planted.
A large, well-placed piece of wood can work better than many tiny pieces. A restrained planting plan can create more useful variety than a long species list. The aim is to make a small aquarium feel intentional, not to compress every idea from a large aquascape into it.
This guide concentrates on designing at small scale. The illustrated layouts are starting plans to adapt to your space; choose plants and livestock for the conditions you can provide. For the broader process, start with our aquascaping guide.
What you’ll learn in this lesson
- How footprint and viewing position change your layout options.
- How to select material and leaf sizes that support the intended scene.
- How to plan a cube, an approximately 5-gallon layout and an approximately 10-gallon layout.
- How to keep equipment, growth and maintenance access in the plan.

Begin with dimensions, not a “nano” label
For design purposes, write down length × front-to-back depth × height. A volume label alone does not tell you how much room you have to arrange materials in front of one another.
For example, idealized internal dimensions of 30 × 30 × 30 cm and 45 × 20 × 30 cm both describe 27 liters before allowing for anything inside. The first is a cube; the second is longer but has much less front-to-back room. They ask for different arrangements despite the same calculated gross volume.
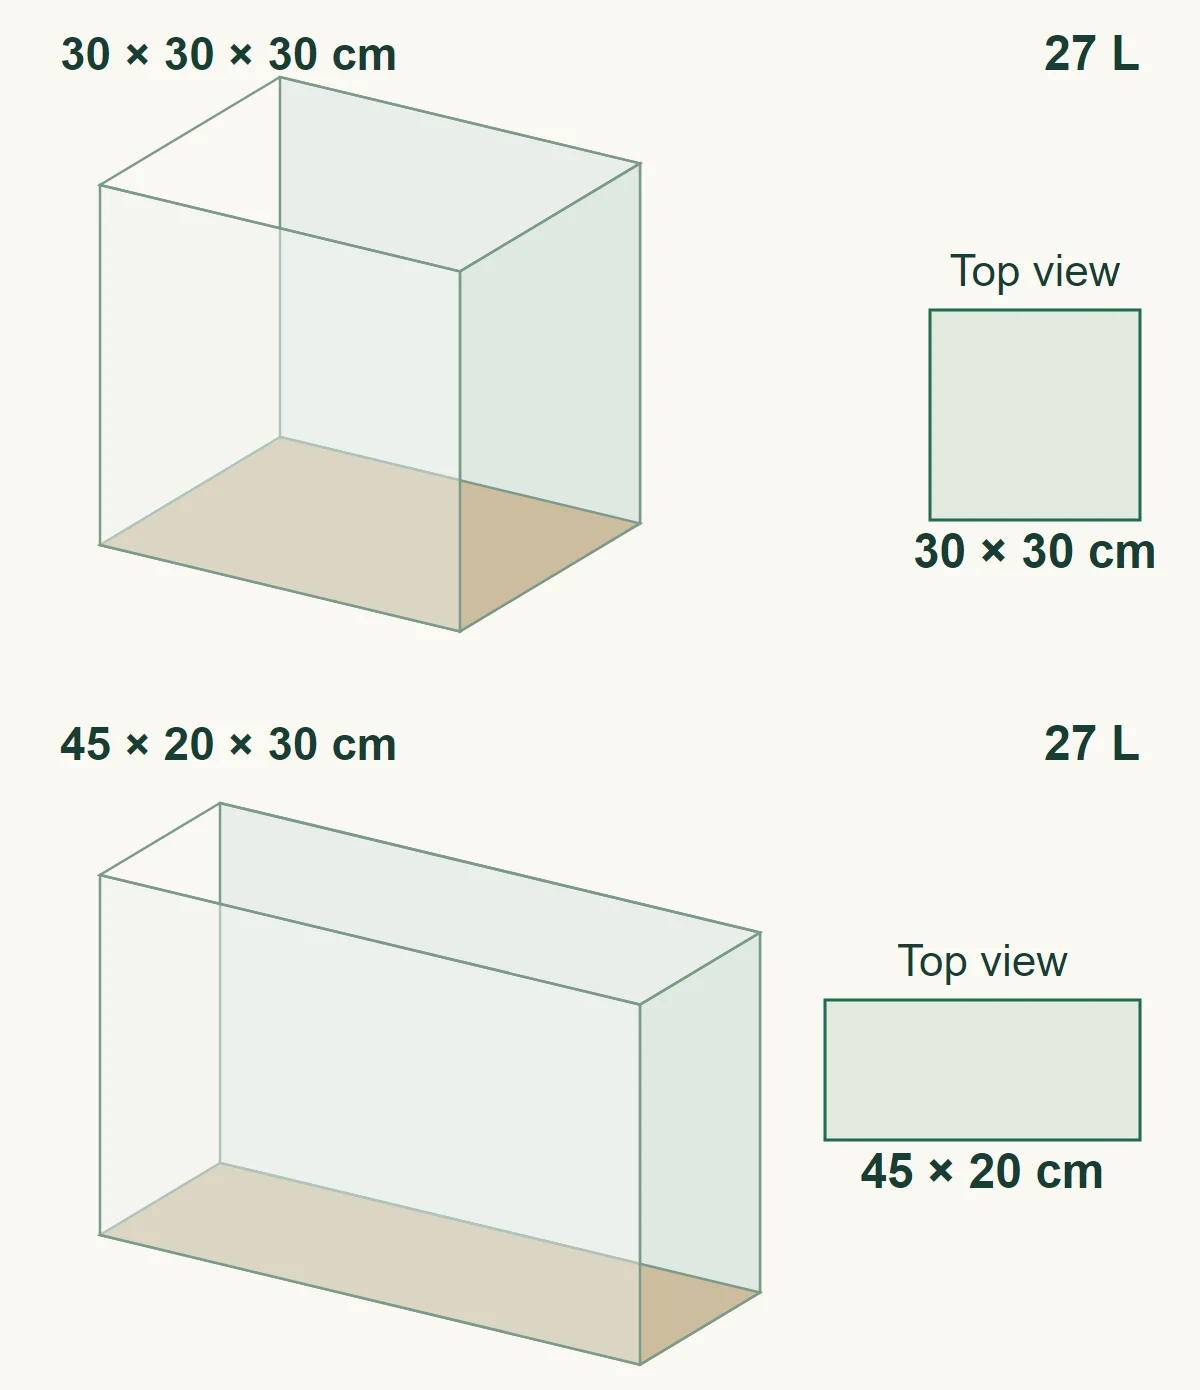
The Aquarium Volume Calculator can help with the arithmetic. Distinguish a tank’s advertised size, a geometric gross-volume calculation and the actual water volume after substrate, hardscape and the fill level are considered.
A contest’s size category is also not a universal definition of nano aquascaping. Use the dimensions to make design decisions, and use the specific contest rules when entering a competition.
Choose one main idea and protect its space
Write a short brief: “a compact wood group with open water on the right,” “a planted island with a low foreground,” or “two unequal groups framing a rear opening.” Then identify the feature that must survive as the plants grow.
A clear main idea helps you decide which details belong, even in a more complex nano layout.
In a small footprint, every addition should answer a question. Does the new stone anchor the wood, repeat a texture or help define the opening? If its only purpose is to fill a visible patch of substrate, leave it out while you compare the alternatives.
Use the design principles lesson for the full discussion of mass, focal hierarchy and negative space rather than treat “small” as a separate style.


Match material scale to the result you want
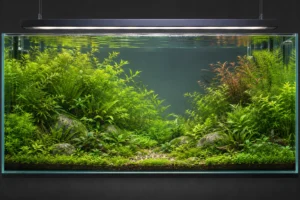
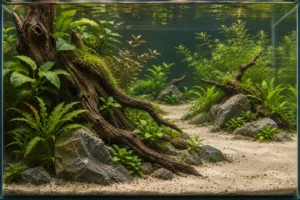
Small hardscape is not automatically well-scaled hardscape. A group of tiny stones can lack a clear main form, while a single larger piece may establish a strong structure with fewer competing details.
Compare the dominant piece with the full tank outline. Then examine the thickness of its branches, the size of its cracks or texture, and the amount of planting that will cover it. Decide whether you want it to read as an actual piece of wood or as a miniature landscape feature.
DOOA’s small-layout examples use differences in wood size, fine foliage and material character to make limited space work. These are design options rather than a requirement to miniaturize every part. [1]
Before final assembly, check both stability and clearance. The piece needs to be suitable for the tank and water, and you need a practical way to reach the adjacent glass. The rocks and driftwood guides cover those material choices.
Use what you learn in My Aquariums
Follow a new aquarium through cycling or see how water readings and care change over time in an established setup.
Use plants for texture, group size and growth habit
Look beyond the height listed for an individual plant. A short species can spread into a broad mass. A slow-growing rhizome plant can still need thinning. The relevant question is what the group will occupy in your particular footprint.
| Candidate | Useful design role | What to plan around |
|---|---|---|
| Anubias barteri ‘Petite’ | Small-leaved attachment around selected hardscape areas | Keep the rhizome exposed and leave room for the group to expand. [2] |
| Cryptocoryne parva | A compact rooted foreground or transition group | Its slow development and need to avoid excessive shading make it a deliberate planting choice, not instant coverage. [3] |
| Micranthemum tweediei ‘Monte Carlo’ | A creeping planted foreground | Tropica recommends good light and added CO₂ for compact growth. In a setup without injection, adjust your expectations to the conditions. [4] |
Choose from these plants only when their care needs suit your aquarium. Check the light, CO₂ supply and room for growth as well as leaf size.
For more choices, use the nano midground plants lesson, epiphyte guide and Plant Database. The carpeting plants lesson covers the wider decision about a planted foreground.
Keep a deliberately limited plant palette at first
As a planning exercise, assign one group to the main mass, one to the transition and one to any low foreground you actually need. Add another group only when it has a clear role.
Start with enough groups to see the main arrangement clearly. You can add variety as you learn how much room each group needs.
Create depth without filling the entire footprint
Start with one visible relationship: a near form, a gap or overlap, and something farther back. The foreground does not need to become a continuous wall of decoration.
Inspect the layout from the height at which you will normally view it. In a small aquarium, moving the viewing position can change which part of the ground or rear planting remains visible. Avoid judging every decision from directly above.
A rear substrate rise is useful when it helps reveal the intended arrangement. It is not a reason to sacrifice most of the available water space or build an unsupported mound. Use the depth and perspective lesson for the sightline and scale explanation.
Three layout-planning exercises
The three plans use example internal dimensions. Their calculated volumes exclude substrate, hardscape and the gap below the rim, so usable water volume will be lower. Livestock still needs a separate care and space assessment.
A 30 cm cube: one group, more than one view
A 30 × 30 × 30 cm cube is approximately 12 inches on each side and has a geometric volume of 27 liters, or 7.1 US gallons.
Try an off-center island that remains understandable from the front and the main visible side. Place the principal hardscape group away from the glass, then mark the mature plant envelope around it. Keep a clear route for tools around the portion of the group you will need to maintain.
Do not force a long landscape path into the cube just to make it look deeper in a photograph. A compact central or off-center composition may better suit an aquarium that is seen from several angles.
Approximately 5 gallons: a side group with open space
Consider 40 × 20 × 25 cm, approximately 16 × 8 × 10 inches. That is 20 liters, or 5.3 US gallons, before displacement.
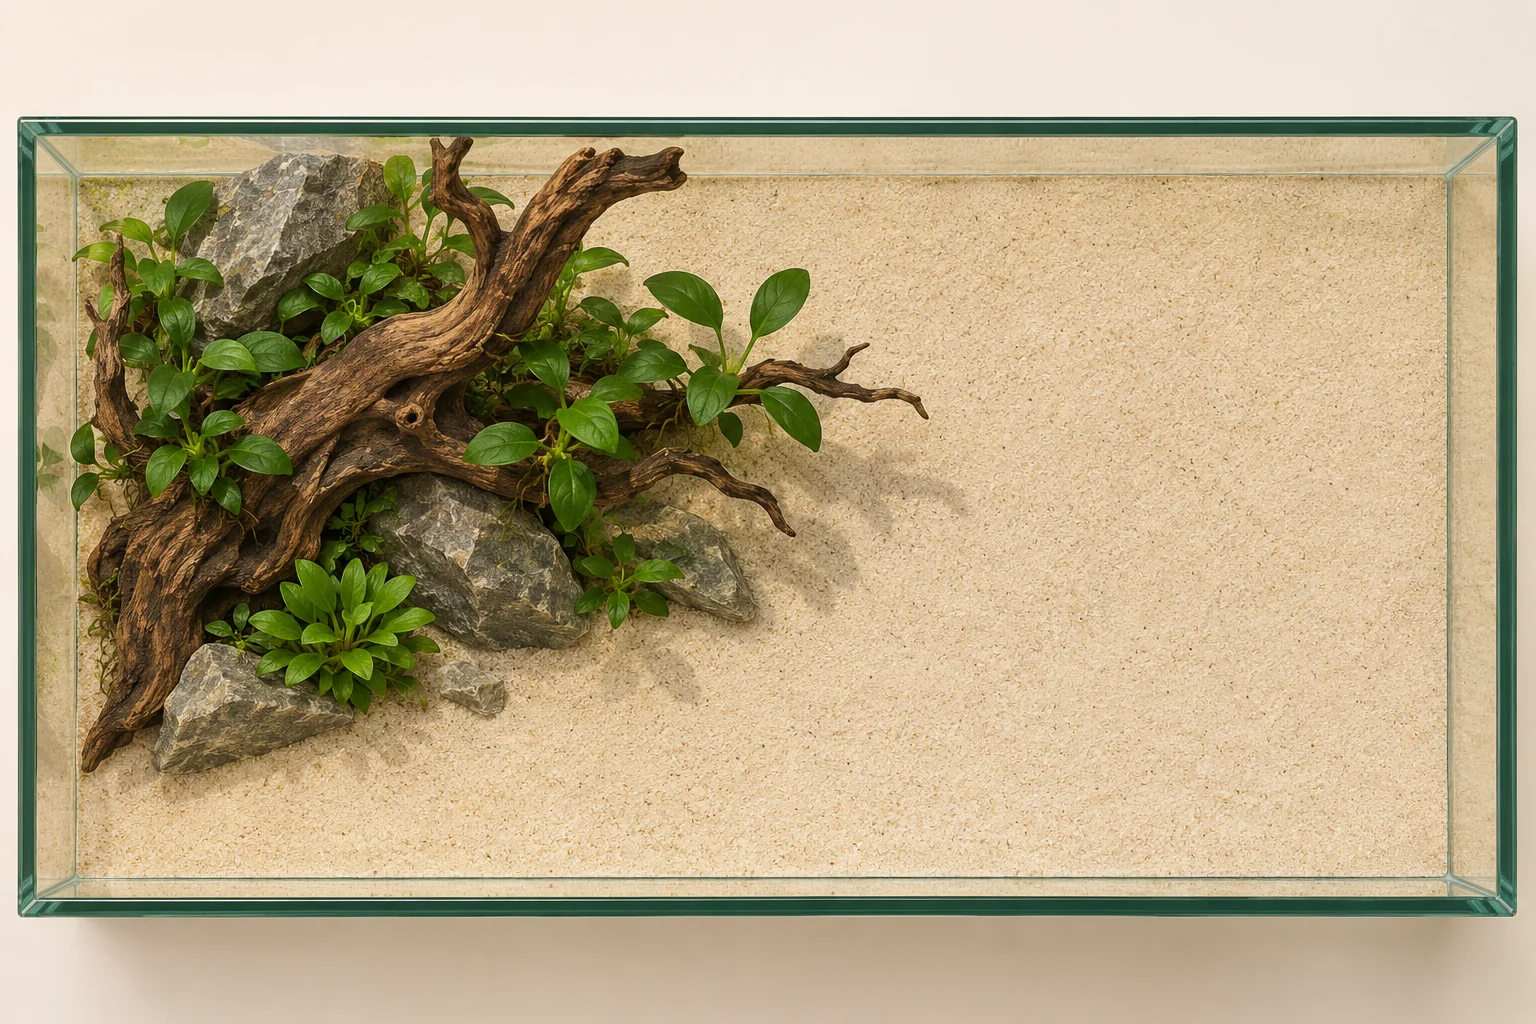
With only 20 cm of physical front-to-back depth, try one main group toward a side rather than several bulky layers. Keep the opposite area deliberately open. Mark equipment space before adding small decorative pieces, and check whether the front glass remains reachable.
For a lower-complexity plant plan, investigate a small-leaved attachment plant around selected parts of the hardscape and a compact rooted group where conditions suit it. An open foreground is a valid choice; a full carpet is not compulsory.
Before planting, check that the group has room to grow and that you can still reach the glass and equipment.
Approximately 10 gallons: two unequal groups and a visible opening
Consider 50 × 25 × 30 cm, approximately 20 × 10 × 12 inches. That is 37.5 liters, or 9.9 US gallons, before displacement.
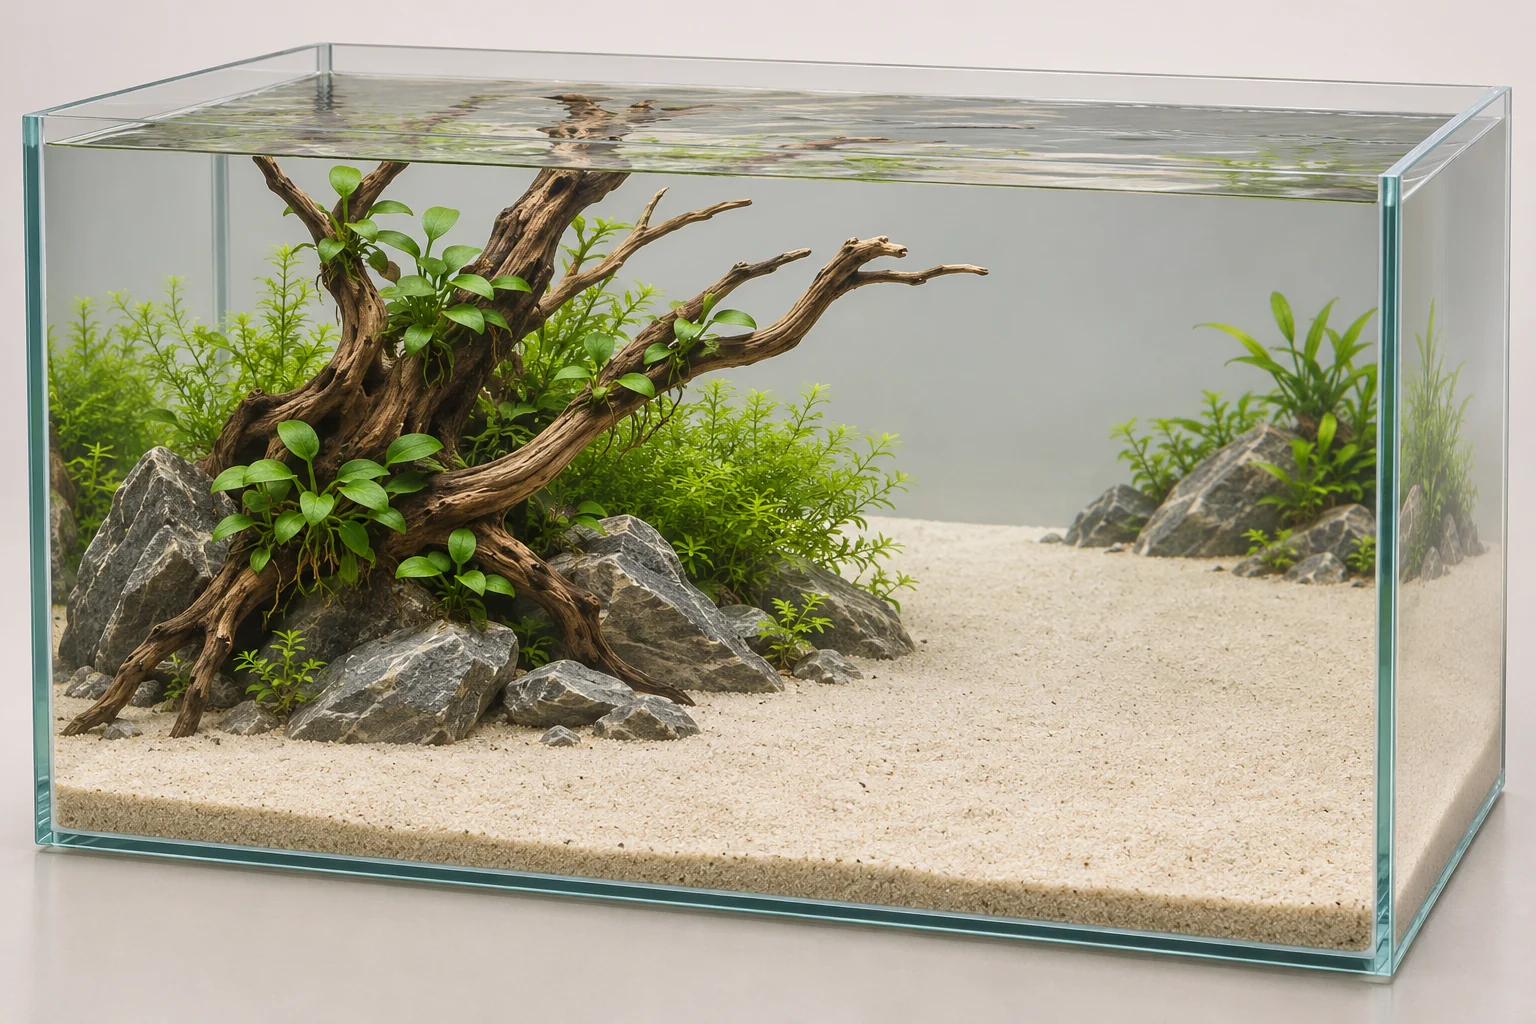
Try a larger group on one side with a smaller supporting group set farther back on the other. Preserve an opening between them that can be understood from the front view. The opening may be planted low or left as suitable open substrate; it does not need to become a narrow sand road.
Draw the mature planting around both groups. If it merges across the opening, reduce the planned envelopes or reposition one group before planting. Keep the rear equipment route accessible rather than hide it behind a structure that cannot be serviced.
This example has more room than the previous one, but not enough to ignore access. The most useful extra space may be a maintenance corridor rather than another decorative feature.
When photographing a small footprint, avoid moving a wide-angle camera against the front glass just to fill the frame. Check the camera-position and framing guidance before judging the layout from that image.
Fit the equipment into the plan without sacrificing function
Choose locations that are practical to service and appropriate for the equipment. Visual concealment is secondary to the function and safe operation of filters, heaters, intakes and other components.
Mark the actual footprint of the equipment on your plan. Include the route required to remove a component, not just the space it occupies while installed. A filter hidden behind a beautiful wood group is not successfully integrated if every cleaning session requires dismantling the group.
Use the filter guide and filter-flow guide for functional choices. For the layout itself, compare whether the equipment can sit behind a supporting mass rather than beside the focal opening.
Choose the plant system before pursuing a particular look
A no-injected-CO₂ approach and a managed CO₂-injected approach can both support deliberate aquascaping. They do not imply the same plant selection, growth expectations or equipment needs.
For a no-CO₂ design, choose the planting for that system and be willing to change the reference idea. Use the no-CO₂ planted tank guide and carpet plants without CO₂ lesson rather than assume that a compact competition carpet is a universal beginner result.
For a CO₂-injected design, work through the CO₂ system guide and lighting guide. Do not choose a stronger light as a shortcut around the rest of the setup.
The Lighting Calculator can support planning, but small footprints and the shade from actual materials still need to be evaluated in the tank.
Plan animal needs separately from the landscape illusion
A layout can appear spacious in a photograph while offering little usable room. Decorative scale is not a stocking method.
Choose animals by their adult size, behavior, social requirements and the conditions you can provide. Then check how the hardscape affects swimming areas, shelter and maintenance. The nano fish lesson and shrimp guide are more appropriate starting points than the drawings in this article.
Complete the aquarium’s cycling process before treating it as ready for livestock. Neither an attractive layout nor visible plant growth proves that step is complete.
Keep the composition manageable after planting
Define the boundaries you want to maintain: where the low group stops, which wood remains exposed and which opening stays clear. Review those boundaries before they disappear entirely.
Tropica’s trimming guidance distinguishes the treatment of different plant growth forms. Use the appropriate method for the plant rather than cut every group across the same horizontal line. [5]
Keep the plant tools guide and your actual reach in mind. A gap too narrow for your tool or hand may be difficult to keep deliberate, even if it looks attractive on the first day.
A small-tank design review
| Question | What a “no” suggests |
|---|---|
| Can I identify the main group from the normal viewing position? | Simplify the arrangement before adding details |
| Can I reach the glass and the planned open substrate? | Rework access while the layout is still easy to change |
| Is the expected plant growth drawn into the plan? | Check whether the opening will survive establishment |
| Can equipment be serviced without disturbing the structure? | Move the equipment or change the concealing group |
| Are animal needs checked independently of the visual design? | Pause stocking decisions and assess husbandry first |
Conclusion
Design a nano aquascape around its dimensions, one clear idea and the space required to maintain it. Choose plant groups and materials for the roles they will play when established, not just for their small starting size.
A small aquarium does not need to contain a smaller version of everything. It needs a coherent selection of things that fit.
💬 Join the Conversation
What are your aquarium’s length, depth and height—and which area is hardest to design? Share your plan or setup in the AquariumLesson Community.
Frequently asked questions
Can I aquascape a 5-gallon aquarium?
Yes, as a design project, but the actual dimensions and the space occupied by equipment and materials matter. The approximately 5-gallon plan above is a hypothetical layout exercise, not a recommendation for particular animals.
Is a 20-gallon aquarium a nano tank?
For a 20-gallon layout, plan around its length, depth and height. If you are entering a contest, use that organizer’s size categories rather than relying on the “nano” label.
Should every plant in a nano aquascape have tiny leaves?
No. Small leaves can support a miniature impression, but a larger-leaved accent can be intentional. Decide whether you want a landscape illusion or a planted composition at its own scale, then choose plants that suit both the design and the growing conditions.
Can one large rock work better than several small rocks?
Yes, as a composition choice. A clear main form can be more useful than scattered detail. It still needs appropriate support, clearance and compatibility with the aquarium’s inhabitants and water.
Does a nano aquascape need a carpet?
No. An open foreground or a limited planted group may suit the brief and maintenance better. Choose a carpet only when its growth and care requirements fit the system.
Lesson completed!
You've finished Nano Aquascaping: Design a Small Tank with Depth & Balance. Continue learning or put this guidance into practice.
Continue learning →References
[1] DOOA / Yusuke Homma — SUIKEI WORDS 05: Techniques to make small layouts look bigger. Accessed November 2, 2026.
[2] Tropica Aquarium Plants — Anubias barteri 'Petite'. Accessed November 2, 2026.
[3] Tropica Aquarium Plants — Cryptocoryne parva. Accessed November 2, 2026.
[4] Tropica Aquarium Plants — Micranthemum tweediei 'Monte Carlo'. Accessed November 2, 2026.
[5] Tropica Aquarium Plants — Trimming. Accessed November 2, 2026.
Aquascape illustrations created with AI; technical diagrams by AquariumLesson.